
taken by the passenger on 25/09/23
last years MOT 55490
this years MOT 59223

3733 miles between MOT's
Advisories
Rear brakes on the mk6 (and mk5) platform always wear unevenly leaving unswept patches. doesnt look great but doesnt effect overall use.
I do try to use the handbrake at speed to 'clean' them up (allowing cool down of course)
At some point Ill have to replace the rear discs and pads.
inner surfaces behind the wheels are corroding, so will need resprayed or powder coated (black chrome?) in due course
front bumper is delaminating, so will need resprayed at some point
will do rear bumper as well and get rid of all the bumpers holes so I can run small plates!)
car still cleans up well though.


after its recent reliability blip, back to normal service.
Car reached 10 years old
Treated with Gyeon products, heres a recent after bath picture

no recent changes
car running great
54k miles
just went out to the car after work on Thurs, it started but misfired, i turned it off then it was ok and i drove home...
then went to use it again an hr later and it barely started, and i get EPC/EML lights on, and its barely driveable , just bogs down
VCDS scan shows me at least 4 things that now appear to have no power
(which implies an upstream relay, fuse or cable issue , hopefuly not the ECU!)
4 Faults Found:
008852 - Fuel Pressure Regulator Valve (N276)
P2294 - 004 - Open Circuit
Freeze Frame:
Fault Status: 01100100
Fault Priority: 2
Fault Frequency: 1
Reset counter: 255
Mileage: 88207 km
Time Indication: 0
Date: 2050.14.20
Time: 21:43:24
Freeze Frame:
RPM: 756 /min
Load: 20.0 %
Speed: 0.0 km/h
Temperature: 66.0°C
Temperature: 41.0°C
Absolute Pres.: 1010.0 mbar
Voltage: 14.224 V
001112 - Evap System Purge Control Valve (N80)
P0458 - 002 - Short to Ground
Freeze Frame:
Fault Status: 01100010
Fault Priority: 2
Fault Frequency: 1
Reset counter: 255
Mileage: 88207 km
Time Indication: 0
Date: 2050.14.20
Time: 21:43:25
Freeze Frame:
RPM: 765 /min
Load: 20.0 %
Speed: 0.0 km/h
Temperature: 66.0°C
Temperature: 41.0°C
Absolute Pres.: 1010.0 mbar
Voltage: 14.097 V
000052 - Turbocharger Bypass Valve Control Circuit
P0034 - 002 - Low
Freeze Frame:
Fault Status: 01100010
Fault Priority: 2
Fault Frequency: 1
Reset counter: 255
Mileage: 88207 km
Time Indication: 0
Date: 2050.14.20
Time: 21:43:25
Freeze Frame:
RPM: 765 /min
Load: 20.0 %
Speed: 0.0 km/h
Temperature: 66.0°C
Temperature: 41.0°C
Absolute Pres.: 1010.0 mbar
Voltage: 14.097 V
000581 - Solenoid Valve for Boost Pressure Control (N75)
P0245 - 002 - Short to Ground
Freeze Frame:
Fault Status: 01100010
Fault Priority: 2
Fault Frequency: 1
Reset counter: 255
Mileage: 88207 km
Time Indication: 0
Date: 2050.14.20
Time: 21:43:25
Freeze Frame:
RPM: 765 /min
Load: 20.0 %
Speed: 0.0 km/h
Temperature: 66.0°C
Temperature: 41.0°C
Absolute Pres.: 1010.0 mbar
Voltage: 14.097 V
which at this point looks like a fuse/relay ive missed , ecu or broken wire
At this point I took the car to my local trusted garage for them to triage from here
symptoms were reduced voltage (3V) against the circuits indicated as faulty on the fusebox
garage tried loom checks, fusebox replacement, an ecu swap
and it made no difference, so they went back through the continuity loom check and they then found a short under the fusebox as it bends and passes through metal
(anyone got a picture of the loom routing under the fusebox by any chance?)
at that point they also worked out the relay had been taken out by the problem too.
So in all whats changed on the path to resolution


Been searching ebay for weeks.
I was either buying second hand or brand new from Germany (link) but we now have import tax given Brexit
Heres the actual pictures from the ebay advert on the donor car.
Primarily bought for the carriers and calipers.
Im not a fan of EBC brake pads but as long as they work, I will use the discs and pads and look to replace them at a later date with Ferodo DS2500 and some drilled or j hooked discs


how they arrived, needing a good clean (old mk7 hoses still attached)


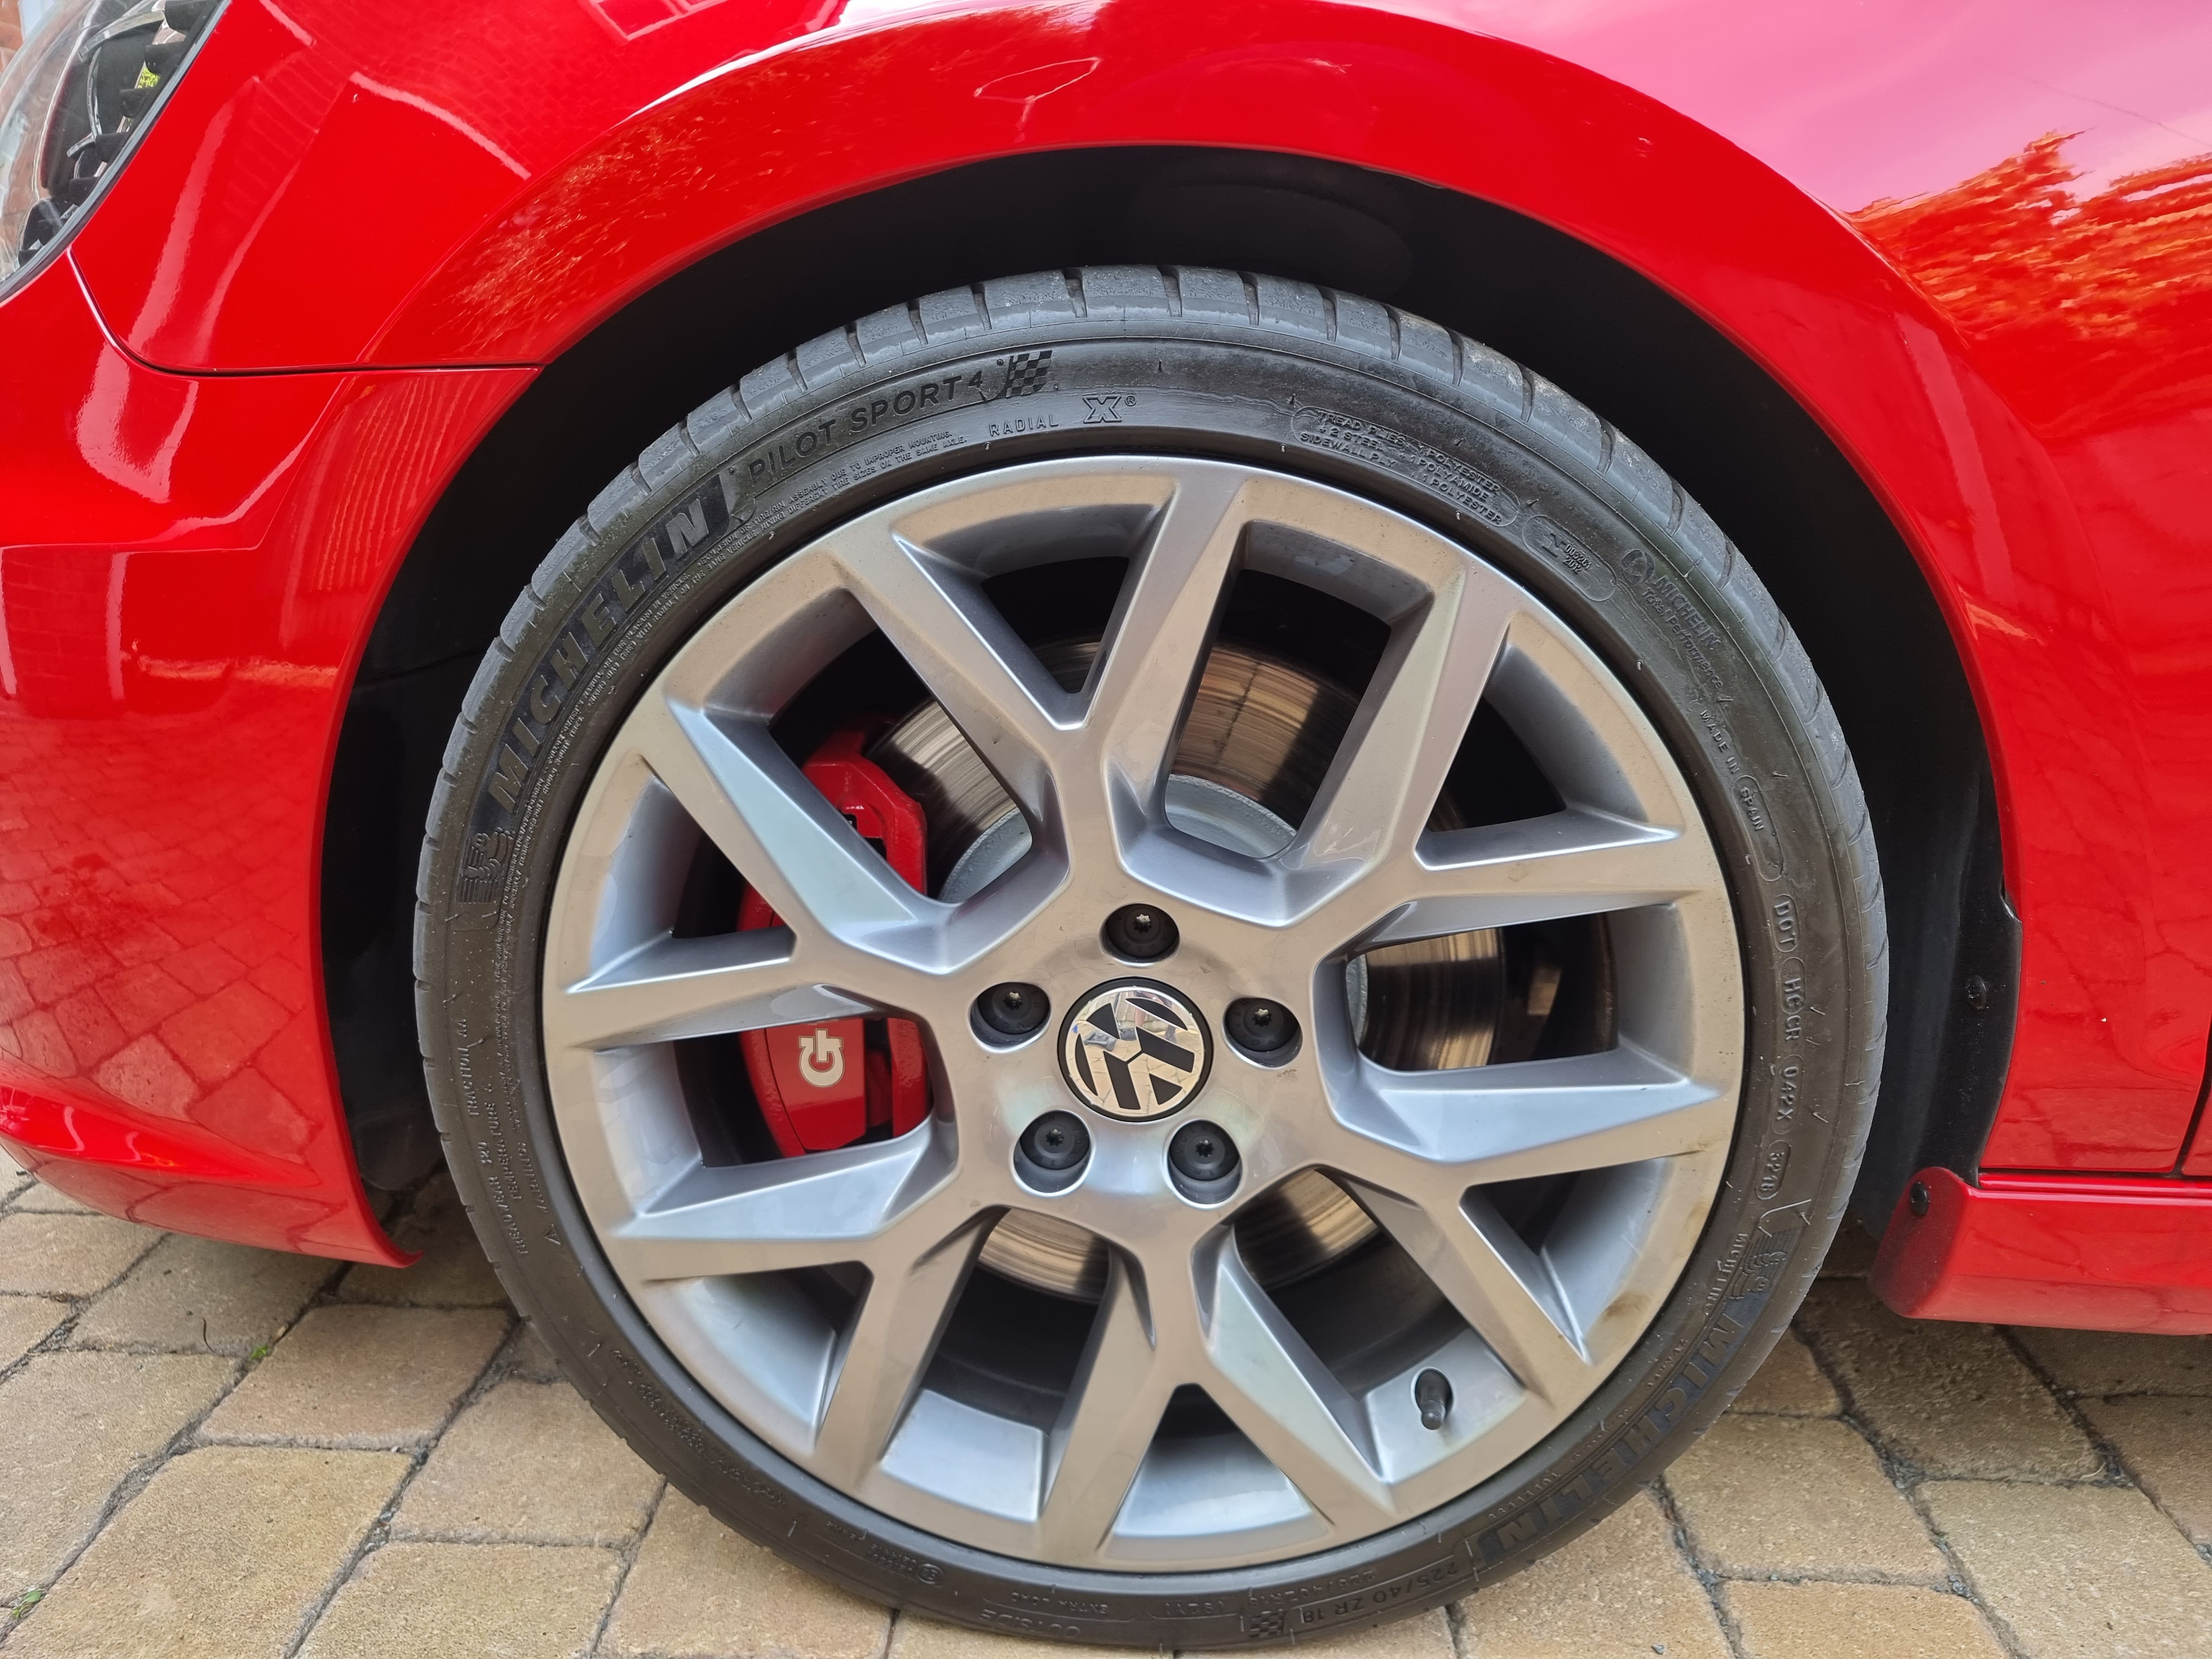


Got a good deal on Black Friday.
Awesome/Forge 5x112 - 57.1 Hubcentric Wheel Spacer Kit with Bolts
I went with 16mm all round
https://www.awesomegti.com/awesome-forge-5x112-spacer-kit/
Introducing the Awesome x Forge Wheel Spacer and Bolt Kits!
Wheel spacer and bolt kits to suit your 5x112 / 57.1mm VAG vehicle for a quick and easy solution.
These kits are designed to work with Genuine OE Alloy Wheels and come with the Wheel Spacers and the correct wheel bolts to suit.
We highly recommend that you measure your vehicle fully loaded to see what size spacers are required.
Notes:
- Wheel spacer sizes should be carefully considered
- Wheel bolts included use the standard 17mm Hex, so no need for any special tools
- Designed to work with Genuine OE Alloy Wheels
- Wheel bolts should be tightened to 120nm (88.5lb/ft) and rechecked after 25 miles.
Before


Front


So recently I engaged Reverse on the DSG to to be presented with this

Taking to the interwebs a quick search revealed many possible causes but the most likely to be the wires to the RVC unit in the boot badge get stretched and commonly break.
My car is 2012 so 9 years old and nearly 50k miles
So i used this guide to help remove the rear hatch cover


of which you need to remove 4 screws , 3 visible and 1 thats in that upper left square hole.
This allows you to remove the entire boot release motor and camera unit as one so you can work on it on the bench.
You need to unclip the motor , and 2 sets of camera wires (top rhs of the photo)
WARNING : At this point if you shut the boot , you can only open it from inside via the back seats through them pushed forward.
Just slide the white clip you can see on the boot latch to the left and the boot releases..
out of the car its clear to see the issue, 2 wires have snapped clean where the waterproof connector ends.
This is apparently very common

At this point you are either going to
Looking at Option 2 first, its price prohibitive to just order a new camera
My part number was 5K0 980 551

To order new genuine looked like around £250 minimum and im not convinced of stock levels, not sure how much a genuine from VW actually is.
You can get what seems a reasonable part from AliExpress. (around £50 to 70 The caution here is how long it will take to arrive and you must check the type of camera and connector you have , the listings are very confusing)
Of the 8 wires
for reference the connector I have was this


Given the challenge of getting a replacement camera , and having a look at the existing guides online, I thought there was nothing to loose by attempting a repair.
So lets take the motor apart from the mechanism/camera. Its only two torx screws

then we can split the mechanism from the camera. Single internal screw, this allows you to seperate the two halves of the mechanism.
Note : there are 2 plastic end washers (white in colour) dont loose them.
Having split the mechanism, you now want to wiggle out the internal 'flap' that contains the camera.
One of the pins slots out to help.
Once slotted out , you can remove the final 2 small screws holding the camera to the internal flap, and feed the cables through it.
Laid out it now looks like this...

Now you have just the camera to work on, much easier.

It looks as if the cables are directly sealed to the camera body, but thats an illusion. If you carefully cut (i used snipe nosed cutters) away the inch long rubber seal , it eventually comes away to reveal all the wires and a plug.

You can then look to splice your connections back together in whatever way you see fit.
As you can see above I chose to buy the items below as I didnt have either prior to this repair
At this point because you have available connections at either end I tested continuity using a multimeter, this allows you to prove that your connection repairs have been successfull.
Hold one end onto the exposed side of the cable block, then one end onto the plug that joins to the car.
Its also worth doing to prove no other wires have been damaged or broken but arent visible.
Once all checked I also went another step to prove it works in the car.
Go back to the car, open the boot (which at this point you now need to do from the back seats (as you unplugged the hatch release during disassembly)
Just plug the 2 camera connector back in and hook it over something
AND CLOSE THE BOOT (IF YOU DONT HAVE THE BOOT CLOSED THE HEAD UNIT SHOWS A BLUE SCREEN AND APPEARS BROKEN WHEN ITS NOT)
turn on the ignition and select R , at this point if youve fixed the wires you should now have a camera image.
Having proved its successful you can now unplug it again and start the sealing and re-assembly.
i wrapped the wires with some black insulation tape.
I have also loosened the wires in the central 'bracket' to give the camera end more flex

then attempted to mimic the orginal covering using Sugru £6 , its a moldable semi flexible plastic.
I took 1 piece and moulded it round the cable as per original , using a wet finger to get a smooth effect.
Then I started to immediately re-assemble the flap (2 screws)


then assemble flap back into the mechanism

then attach mechanism back to motor, to give you an assembly that can go back in the car now ...

place it back in the car AND RETEST IT AGAIN


now you can put the boot back panel on , i sprayed GT85 lubricant on the metal clips to aid refitting.
be patient and take your time, it does go back I promise.
Grab a cup of tea/coffee/rum and celebrate a job well done.
Not sure how long it will last but even if it all goes wrong you still have Option 2 to buy from China.
guides that helped me
https://uk-mkivs.net/topic/649304-golf-mk6-reversing-camera-repair-and-fix/

 Posts
All Comments
Posts
All Comments


